 |
| After a bit more calculation and. . . |
 |
| A bit more drilling and. . . |
 |
| A bit more measuring and. . . |
 |
| A bit more gluing and finish work. . . |
 |
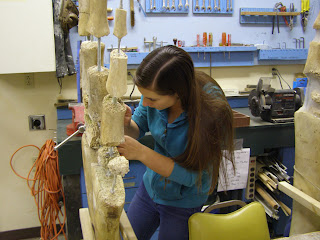
| The flipper that the interns built can now hold up four fingers and all its carpals! Woo Hoo! The next step will be to add the silicone cartilage replacement. |
 |
| Yesterday the whale's personal artist came in to compare paint samples to determine the right mix to give the bones a more even tone. |
 |
| Excitement filled the room as the first vertebra was slid onto its pipe support. |
 |
| Each vertebra was inched along the pipe. |
 |
| Inch by inch. . .step by step. . . |
 |
| This - is a caudal (tail) vertebra. This - is a caudal vertebra without a hole. |
 |
| This - is how you start to drill a hole into a caudal vertebra. |
 |
| This - is how you continue to drill a hole into a caudal vertebra. |
 |
| This - is a caudal vertebra appropriately bored so it can be strung onto its support pipe. |
 |
| And last but not least, the little foam pads that will cushion between each vertebra were all custom made. |
No comments:
Post a Comment